Introduction
Tackling a flooring project can be daunting, especially if you're new to DIY home improvements. However, installing your own flooring can be a rewarding experience that saves you money and gives your home a personal touch. This guide is specifically designed for homeowners in Missoula, Montana, providing easy-to-follow steps and essential tips for a successful DIY flooring installation in 2026.
Choosing the Right Flooring Material
Before diving into the installation process, selecting the right flooring material is crucial. In Missoula, where the climate can vary significantly, you'll want to choose a material that can withstand both dry summers and cold winters. Here are some popular options:
- Laminate: Affordable, durable, and available in various styles, laminate is ideal for high-traffic areas.
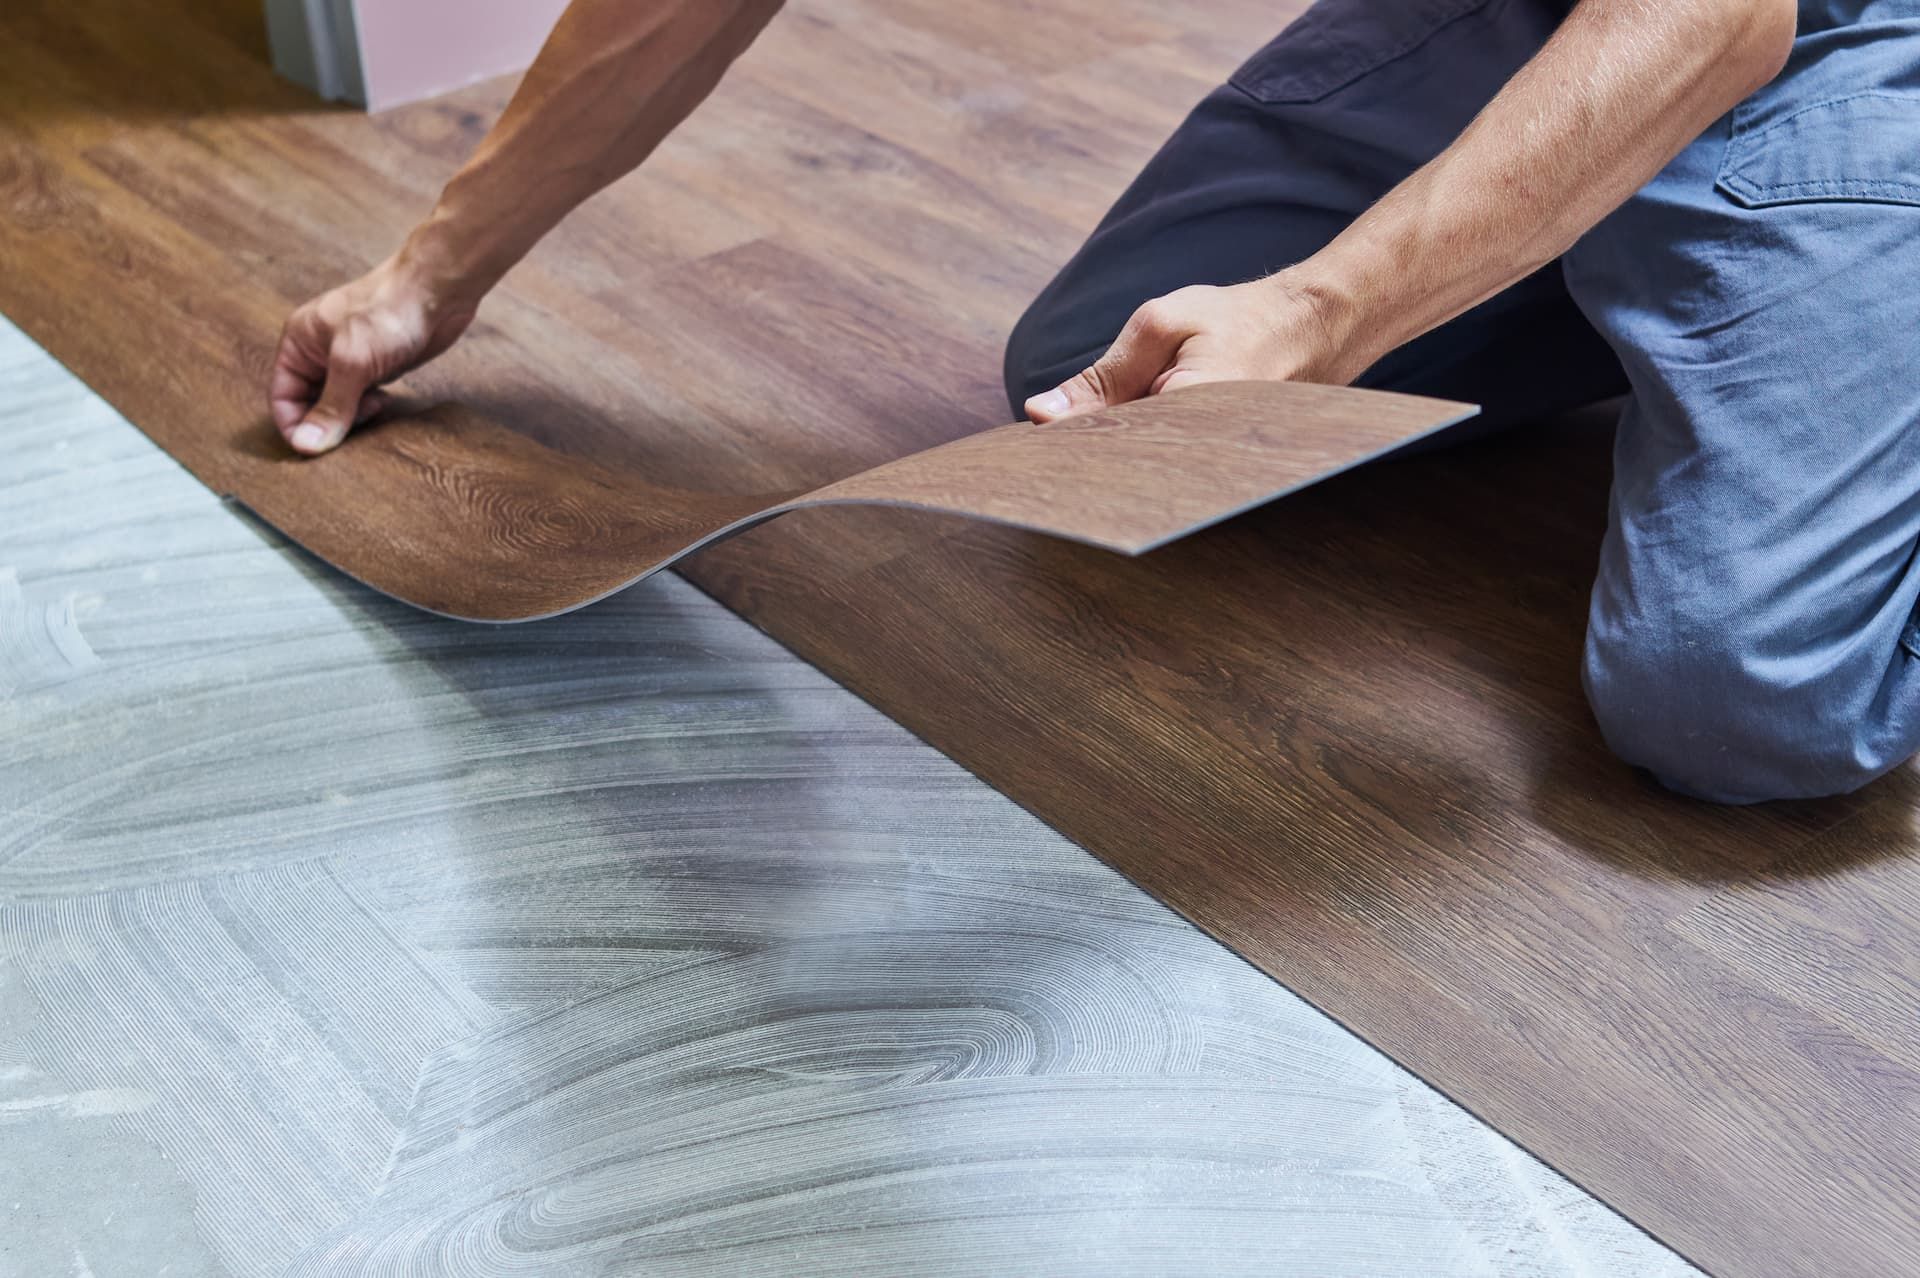
- Vinyl: Known for its water resistance, vinyl is perfect for kitchens and bathrooms.
- Engineered Hardwood: Offers the beauty of real wood with improved stability and moisture resistance.
- Cork: Eco-friendly and comfortable underfoot, cork is a great option for those seeking sustainable choices.
Gathering Your Tools and Materials
Having the right tools at your disposal will make your flooring installation smoother. Here's what you'll need:
- Measuring tape
- Utility knife
- Flooring pull bar
- Rubber mallet
- Spacers
- Flooring adhesive (if needed)
- Underlayment (if applicable)
- Saw (circular or jigsaw for cutting)
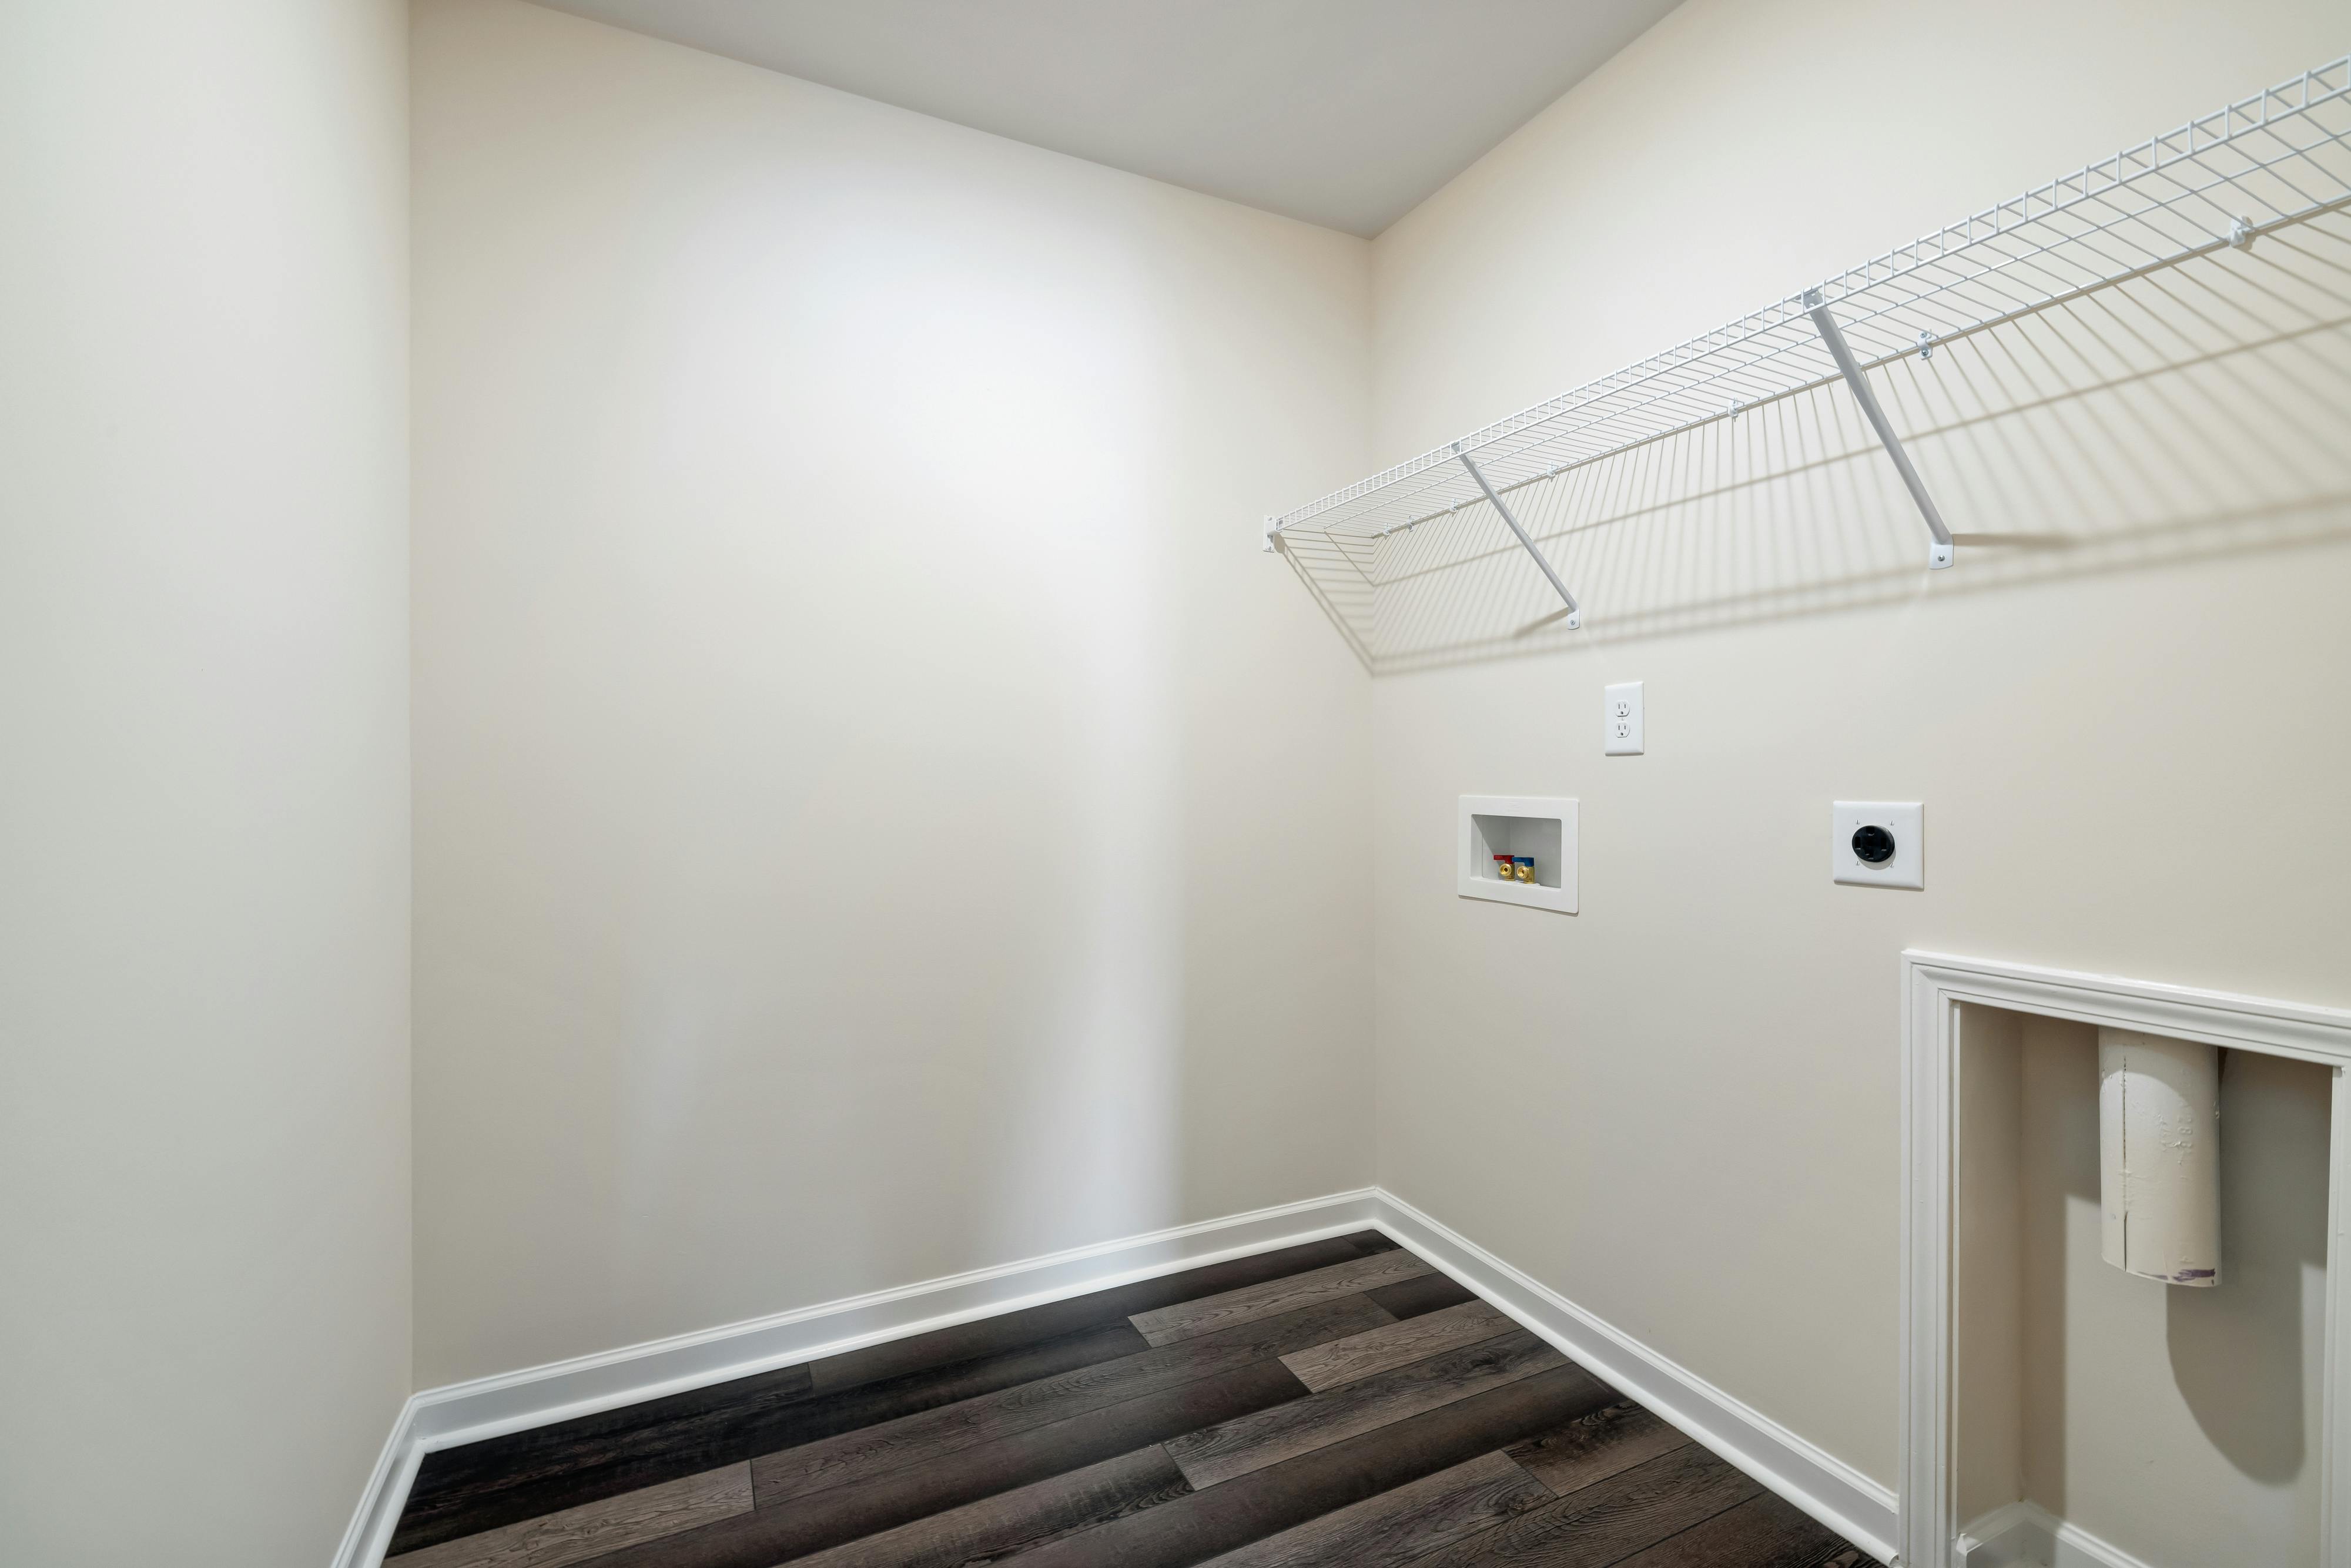
Preparing Your Subfloor
For a successful installation, preparation is key. Follow these steps:
Clean and Inspect
Ensure your subfloor is clean, dry, and free of debris. Check for any damage or uneven areas that need repair.
Leveling the Subfloor
If the subfloor has uneven spots, use a self-leveling compound to create a smooth surface. This step is crucial for preventing future issues with your flooring.
Lay the Underlayment
For materials like laminate and engineered hardwood, underlayment is necessary to provide cushioning and soundproofing. Roll it out according to the manufacturer's instructions.
Step-by-Step Flooring Installation
Now that your subfloor is ready, it's time to install your flooring. Here's a step-by-step guide:
Acclimate the Flooring
Allow your flooring material to acclimate to the room's temperature and humidity for at least 48 hours before installation.
Plan Your Layout
Decide on the direction and pattern of your flooring. For a more spacious look, lay planks parallel to the longest wall.
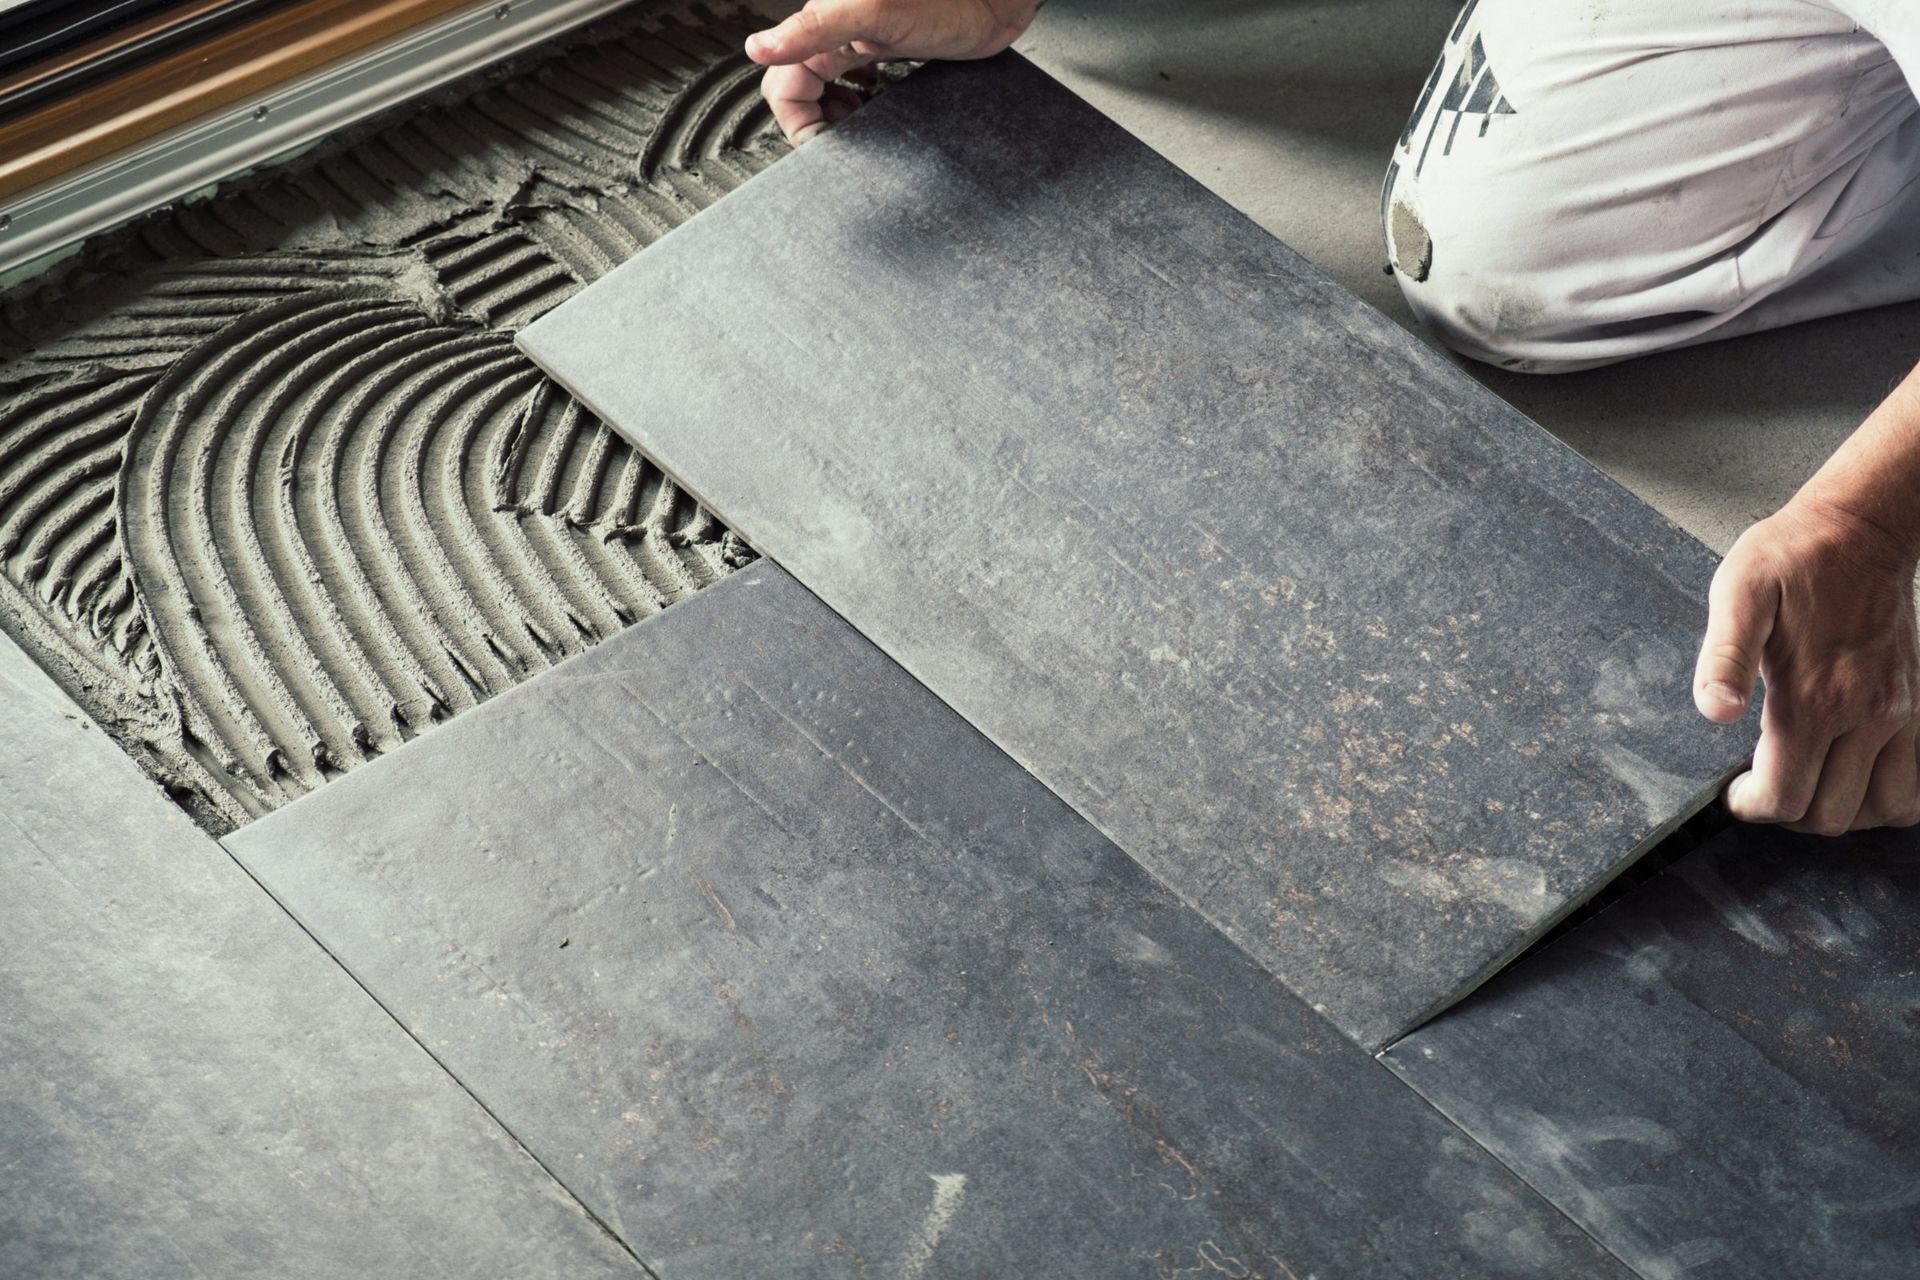
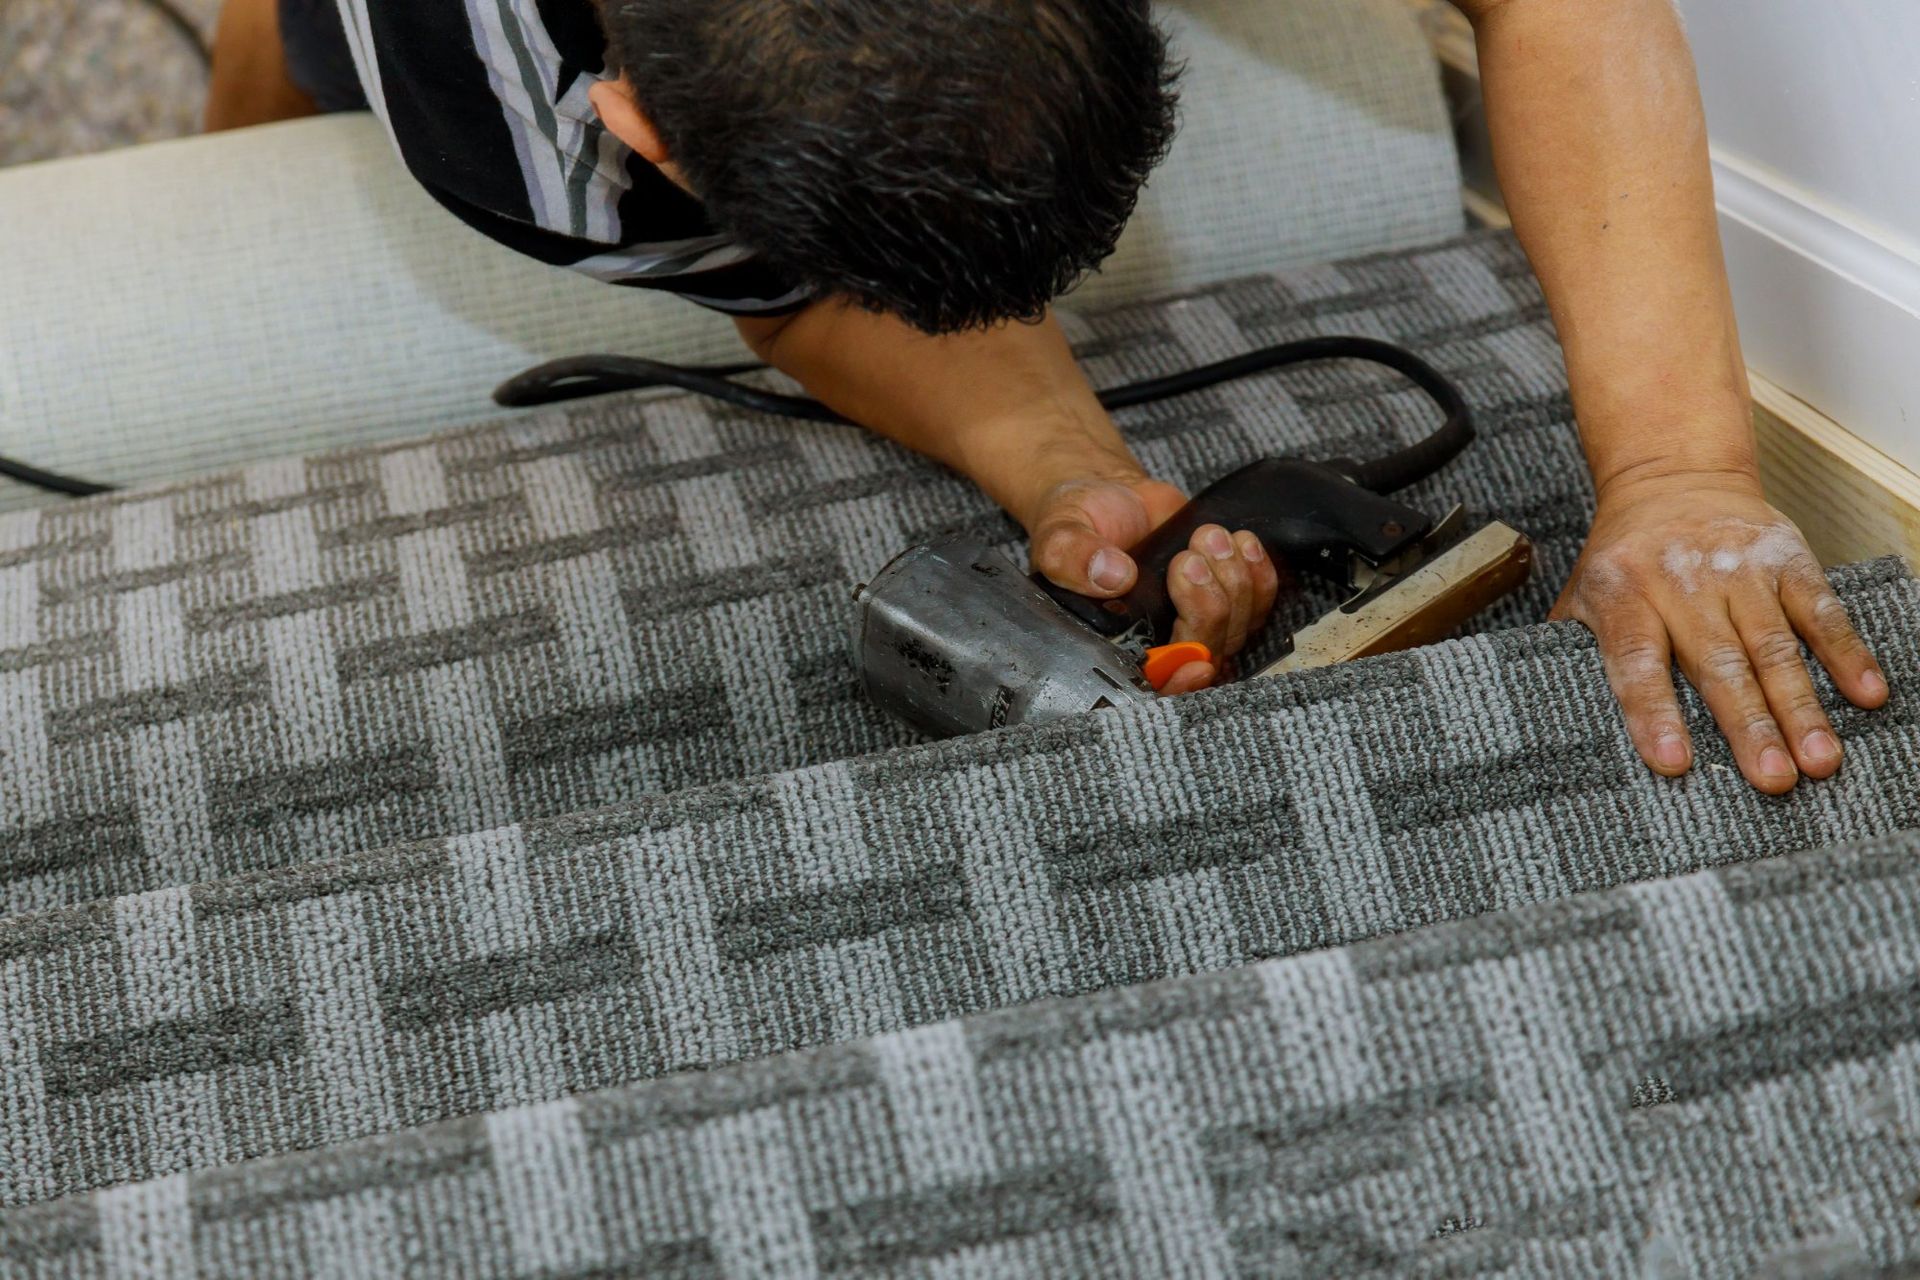
Start Laying the Planks
Begin in a corner, placing spacers between the planks and the wall to allow for expansion. Use a pull bar and mallet to connect planks securely.
Cutting and Fitting
As you approach walls and obstacles, measure and cut planks to fit. Remember to account for spacers when cutting.
Final Touches
Once all planks are laid, remove spacers and install baseboards or molding to cover expansion gaps.
Common Mistakes to Avoid
Even the best DIY projects can encounter hiccups. Here are common mistakes to watch out for:
- Skipping Acclimation: Failing to acclimate flooring can result in warping and gaps.
- Improper Measurements: Double-check measurements before cutting to avoid waste and mismatches.
- Ignoring Subfloor Issues: Not addressing subfloor problems can lead to uneven flooring.
Conclusion
Installing your own flooring can be a fulfilling project that enhances your home. By following these steps and avoiding common pitfalls, you can achieve a professional-looking finish that stands the test of time. If you find yourself in need of professional assistance, Steele Custom Floors in Missoula is always here to help with expert advice and services.
Ready to transform your home with new flooring? Contact us today for personalized guidance and top-quality materials.